Creating a Restore Point in Windows 11
A restore point is a safety net: a snapshot of your system you can roll back to if a change goes wrong. This is the first thing to do before applying any of my optimisation guides.
Tip: Download my Optimizations pack from my Drive and read the included readme.txt first. Don't change anything you're unsure about.
Read the readme
Open and read "readme.txt" from inside the .zip so you understand what each optimisation does before applying anything.

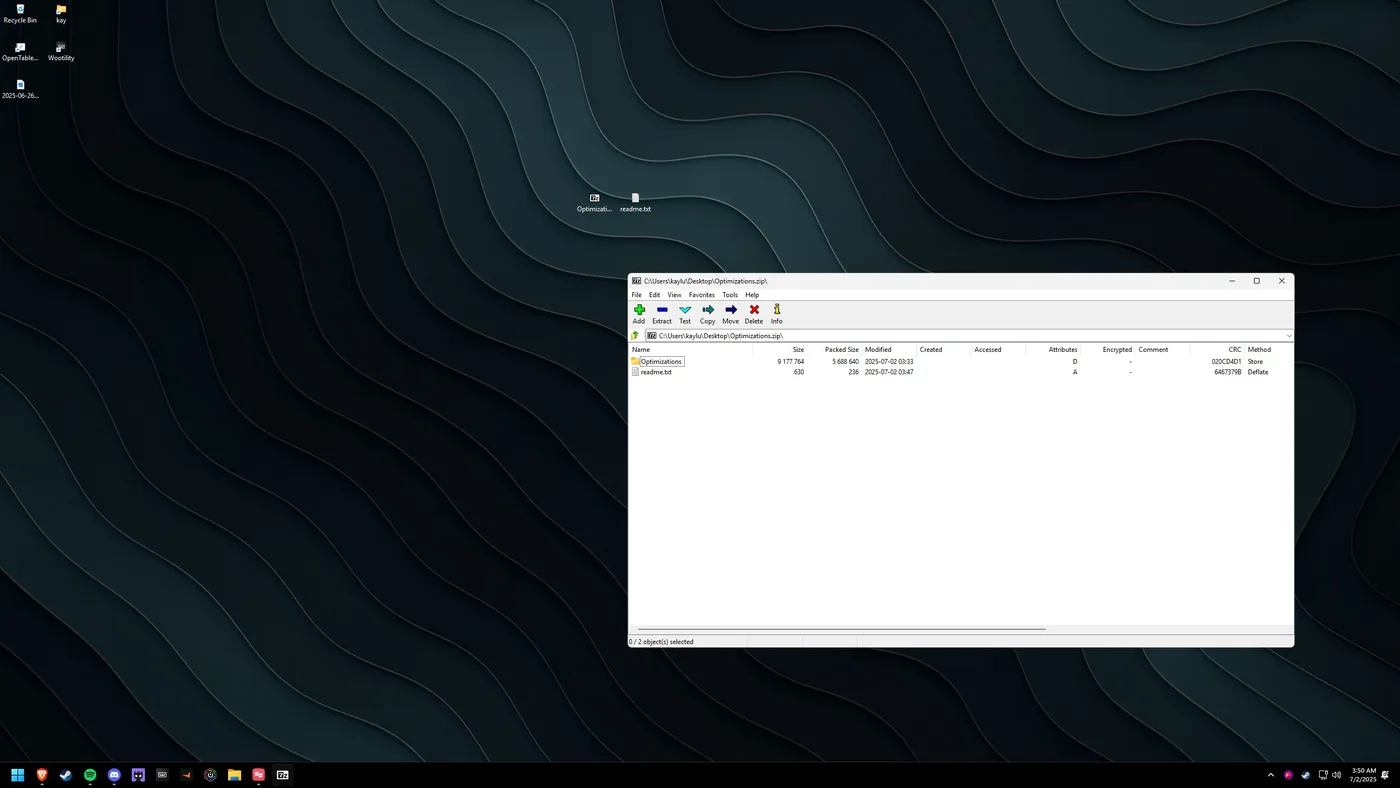
Open the archive
Double-click "Optimizations.zip" to view its contents.

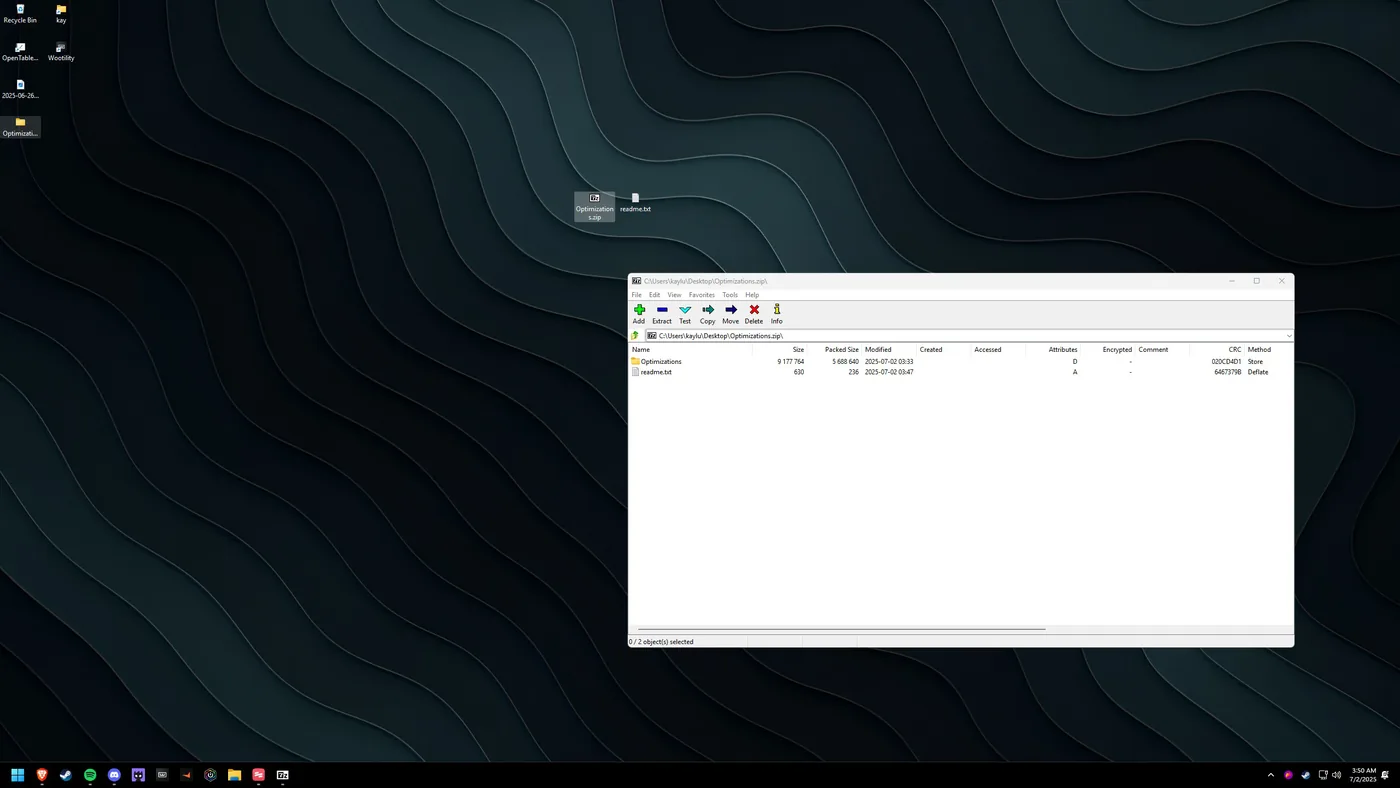
Extract to your desktop
Click and drag the folder inside the .zip onto your desktop so the files are easy to reach.
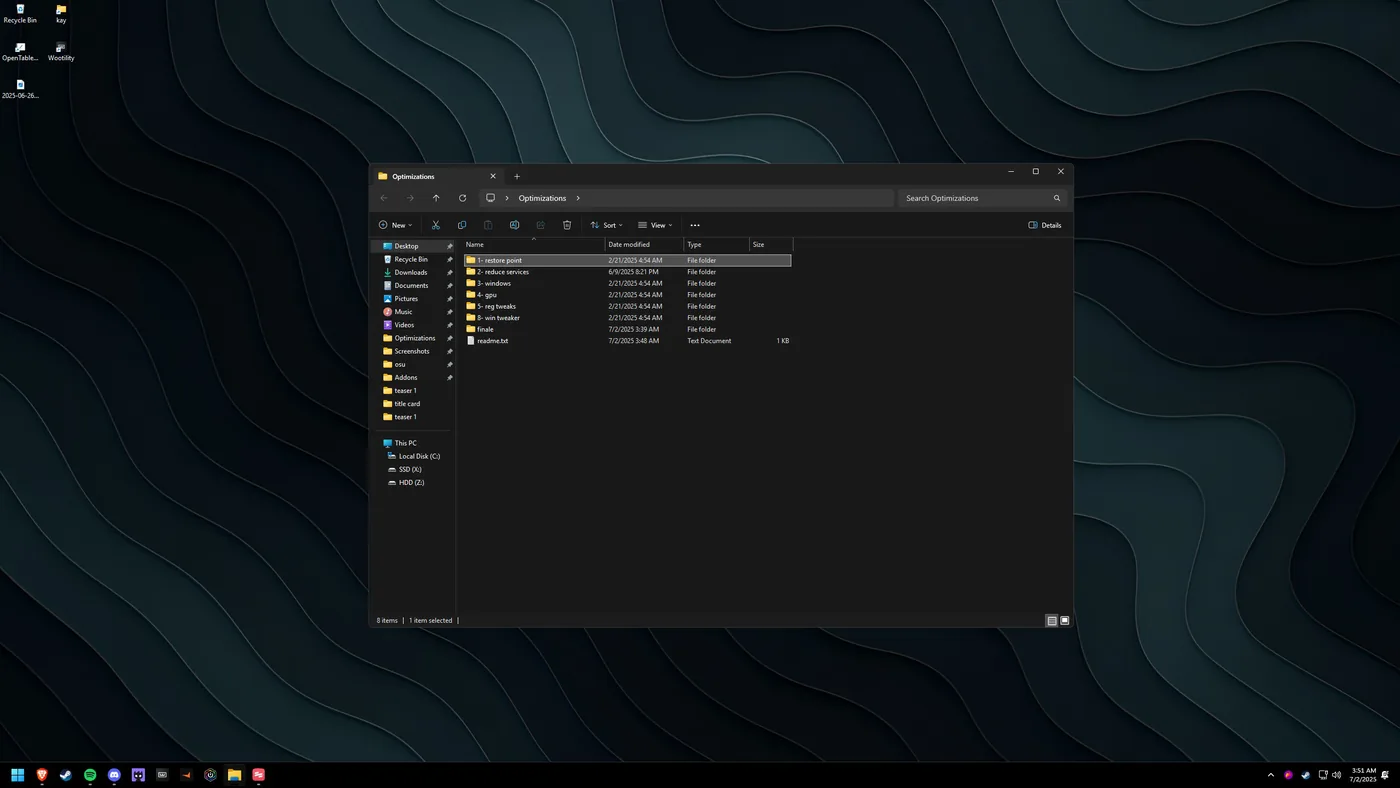
Open the Optimizations folder
You'll now have a folder of the same name on your desktop. Double-click to open it.
Open "1- restorepoint"
Inside, open the folder named "1- restorepoint".

Create the restore point
Run the included restore-point step and let Windows finish. You now have a clean point to roll back to before making further changes.