Enabling / Disabling CPU C-States within BIOS
CPU C-States let your processor boost individual cores on demand and drop idle cores into low-power states. In real-world use this often gives better performance and efficiency than a flat static overclock that pins every core to one fixed frequency.
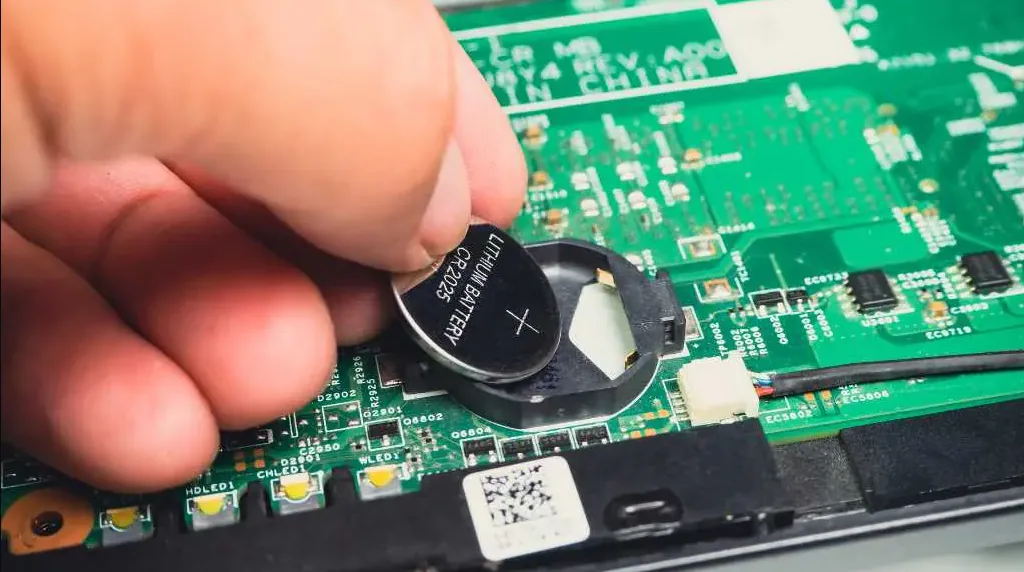
Warning: Your BIOS controls how your whole system runs. Do not tinker with settings you don't understand. If something does go wrong, you can reset everything by removing the motherboard's CMOS battery for a moment and reinserting it - this restores BIOS defaults.
Warning: Option names and locations vary by manufacturer. Look for wording that implies the same thing for your specific board.
Enter your BIOS
Restart and on the post screen press your BIOS key (F1, F2, F10, F12, DEL or ESC). The post screen usually shows which key.

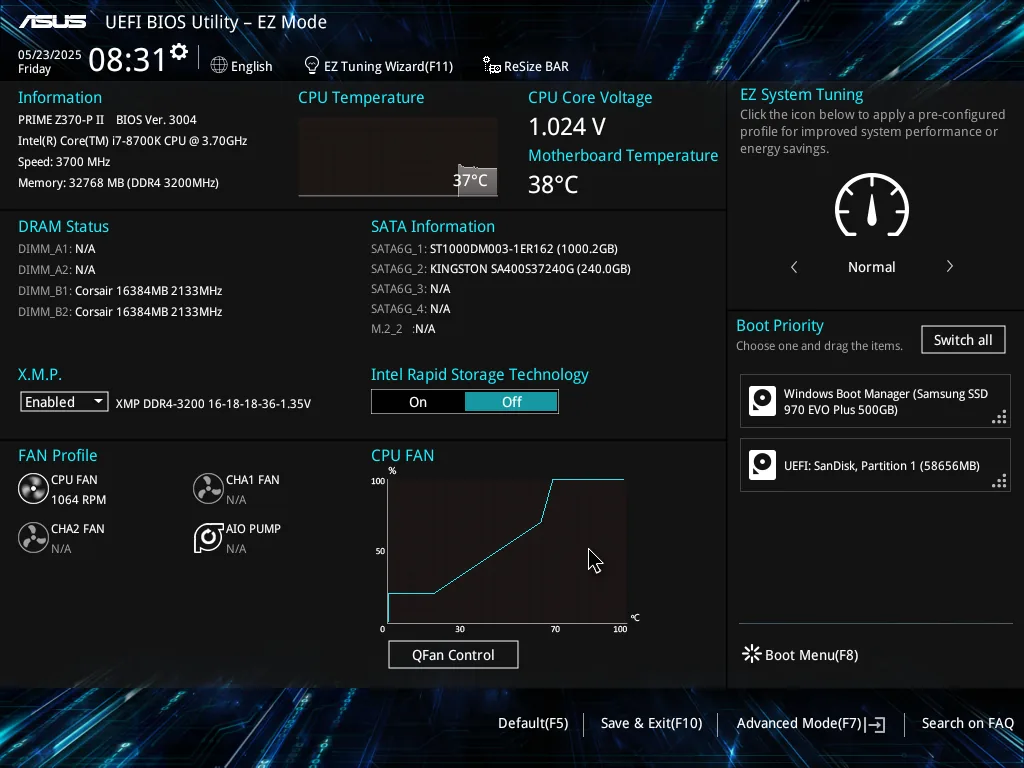
Find your BIOS home page
Your landing page will look broadly similar across brands, with comparable options under different names.
Open the Advanced tab
Navigate to the "Advanced" tab (often the F7 key).
Go to the CPU/Advanced section
Head into the advanced section that holds the CPU settings.

Toggle C-States and save
Find the CPU C-States option and enable (or disable) it, then save and exit. Optional for Intel users: also enable Intel Speed Shift Technology.
